
Print Text on a 16×2 I2C LCD with an ESP32
 By Austin SmallUpdated November 12, 2026
Print Hello, world! and a seconds count on a 16×2 I²C LCD with an ESP32, with the same code as on an Arduino. The backpack runs on 5 V and can hold SDA and SCL at 5 V, more than an ESP32 pin takes, so both lines go through a logic level converter.
This guide uses an ESP32 DevKitC, the common ESP32-WROOM-32 board. For the LCD itself, its address and contrast, see the 16×2 I²C LCD guide.
Try it first, no parts needed
This is the whole project on an ESP32, running in your browser. Press Run simulation and watch the LCD: Hello, world! on the top line and the seconds counting below, drawn large under the circuit.

What the LCD shows
The display's 16 × 2 characters, enlarged.
The screen lights up when the simulation runs.
ESP32 serial monitor115200 baud
What the code does
The sketch is the Arduino one: it starts the LCD, prints Hello, world! once, then the seconds on the second line every second. The code is unchanged; only the wiring differs.
// A 16x2 I2C LCD on an ESP32, through a logic level converter:
// Hello, world! on line 1 and the seconds since the ESP32
// started on line 2, also on the Serial Monitor.
#include <Wire.h>
#include <LiquidCrystal_I2C.h>

LiquidCrystal_I2C lcd(0x27, 16, 2);  // address, columns, rows

void setup() {
  Serial.begin(115200);
  lcd.init();       // starts I2C on GPIO 21 (SDA) and 22 (SCL)
  lcd.backlight();
  lcd.setCursor(0, 0);  // column 0, line 1
  lcd.print("Hello, world!");
}

void loop() {
  unsigned long seconds = millis() / 1000;
  lcd.setCursor(0, 1);  // column 0, line 2
  lcd.print(seconds);
  lcd.print(" s");
  Serial.print(seconds);
  Serial.println(" s");
  delay(1000);
}LiquidCrystal_I2C lcd(0x27, 16, 2); // address, columns, rowsThe LCD: its backpack's address, 16 columns and 2 lines, as in the LCD guide.
lcd.init(); // starts I2C on GPIO 21 (SDA) and 22 (SCL)Starts I²C on the ESP32's default pins, GPIO 21 for SDA and GPIO 22 for SCL, and sets the LCD up. That's why the wires go to those two pins.
lcd.setCursor(0, 1); // column 0, line 2Moves to the start of the second line and prints the seconds, then a space and
s, and the same on the Serial Monitor.
How the level converter works
I²C devices only ever pull a line LOW; a resistor pulls it back up when they let go. A backpack whose pull-ups go to its own supply, as on the main header of DFRobot's DFR0063, holds SDA and SCL at 5 V, and an ESP32 pin takes at most 3.6 V. That is the one reason for the converter.
The converter sits in each line. Its TX channel has a pull-up to 3.3 V on the ESP32's side (TXI) and one to 5 V on the LCD's side (TXO), with a MOSFET between them. When the ESP32 pulls its side LOW, the MOSFET turns on and the LCD's side goes LOW too. When the LCD pulls its side LOW, the MOSFET's built-in diode starts pulling the ESP32's side down until the MOSFET turns on and finishes the job. When both let go, each side rises to its own voltage. So the bus works both ways, and the ESP32's pins never see more than 3.3 V.

Build it on an ESP32
Now with real parts. Wire it, get the code, then upload it and watch the screen. Not sure which pin is which on the LCD? See the LCD pinout.
You'll need
- An ESP32 DevKitC (ESP32-WROOM-32) and a USB cable that carries data
- A 16×2 LCD with an I²C backpack (GND, VCC, SDA, SCL)
- A bi-directional logic level converter, such as SparkFun's (BSS138 MOSFETs, LV and HV supply pins)
- A breadboard and jumper wires: female-to-male for the LCD's four pins
- Software to upload the sketch: either Cirkit Designer, free in your browser, or the Arduino IDE with Espressif's ESP32 boards installed
Wire it
The LCD's power goes straight to the ESP32; SDA and SCL each go through one channel of the converter.
Tap a connection to see it on the circuit.
From To Show LCD GND ESP32 GND Show LCD VCC ESP32 5V Show LCD SDA Converter Chan1 TXO (HV1 on a four-channel board) Show Converter Chan1 TXI (LV1) ESP32 GPIO 21 Show LCD SCL Converter Chan2 TXO (HV2) Show Converter Chan2 TXI (LV2) ESP32 GPIO 22 Show Converter LV ESP32 3V3 Show Converter HV ESP32 5V Show Converter GND ESP32 GND Show Your converter's labels may differ. The picture is SparkFun's original two-channel board: use its TX pins, TXI on the ESP32's side and TXO on the LCD's, not RXI and RXO, which are a one-way resistor divider an I²C line can't use. On a four-channel board, labelled LV1 to LV4 and HV1 to HV4, any channel works: LV to the ESP32, HV to the LCD. Either way, LV goes to 3V3 and HV to 5V; the converter needs both.
Get the code
I'm using:Steps 2 and 3 follow the tool you pick.
The project opens with the sketch and its library already in it, so there's nothing to install.
Install the ESP32 boards first, as Espressif's installing guide shows. In Preferences, add
https://espressif.github.io/arduino-esp32/package_esp32_index.jsonto Additional Board Manager URLs; then open Tools → Board → Boards Manager, search for esp32 and install it. Then install the LCD library: open the Library Manager (1), search for LiquidCrystal I2C (2), and install the one by Frank de Brabander (3).Then copy the sketch into a new one:
How it works line by line is in what the code does, above.
Upload and check it
Plug in your ESP32. In Cirkit, open the Build tab, then Upload firmware: click Select Port and pick your board, then Upload to Device. The first time, Cirkit asks you to install Cirkit Create Agent, a small desktop helper that lets it reach the board over USB. Then open Upload output and serial monitor and click Start Serial Monitor.
Show me where to click in Cirkit
 16x2 I2C LCD on an ESP32DesignCodeSimulateBuildShare
Select a device port
Select the device port for uploading code and serial communications
COM4 (ESP32)- Open Build
- Choose Upload firmware
- Click Select Port
- Pick COM4 (ESP32)
- Click Upload to Device
- Open Upload output and serial monitor
- Click Start Serial Monitor
In the Arduino IDE, choose ESP32 Dev Module and its port from the board menu, press Upload, then open the Serial Monitor and set it to 115200 baud. The IDE warns that the library claims to run on AVR boards; the sketch still builds and runs.
Show me where to click in the Arduino IDE
esp32_hello_lcd.ino// A 16x2 I2C LCD on an ESP32, through a logic level converter: // Hello, world! on line 1 and the seconds since the ESP32 // started on line 2, also on the Serial Monitor. #include <Wire.h> #include <LiquidCrystal_I2C.h>
OutputSerial Monitor115200 baudCompiling sketch...
WARNING: library LiquidCrystal I2C claims to run on avr architecture(s) and may be incompatible with your current board which runs on esp32 architecture(s).
Sketch uses 305507 bytes (23%) of program storage space. Maximum is 1310720 bytes.
Global variables use 22200 bytes (6%) of dynamic memory, leaving 305480 bytes for local variables. Maximum is 327680 bytes.
Uploading...
1 s
2 s
3 s
4 s
5 s
Done uploading.
- Click the board menu
- Pick ESP32 Dev Module on COM4
- Click Upload
- Wait for Done uploading
- Click Serial Monitor
- Check it is set to 115200 baud
It works when:
- The backlight comes on and the top line shows
Hello, world! - The second line counts up once a second:
1 s,2 s,3 s. - After a few start-up lines from the ESP32's boot ROM, the Serial Monitor prints the same count.
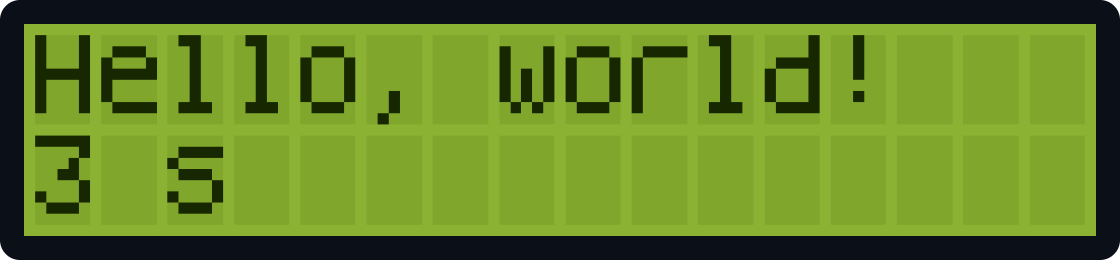
Three seconds in: the same screen as on an Arduino. Device Serial1 s2 s3 s4 s5 sOutputSerial Monitor1 s2 s3 s4 s5 sNot working? See troubleshooting.
Why GPIO 21 and 22
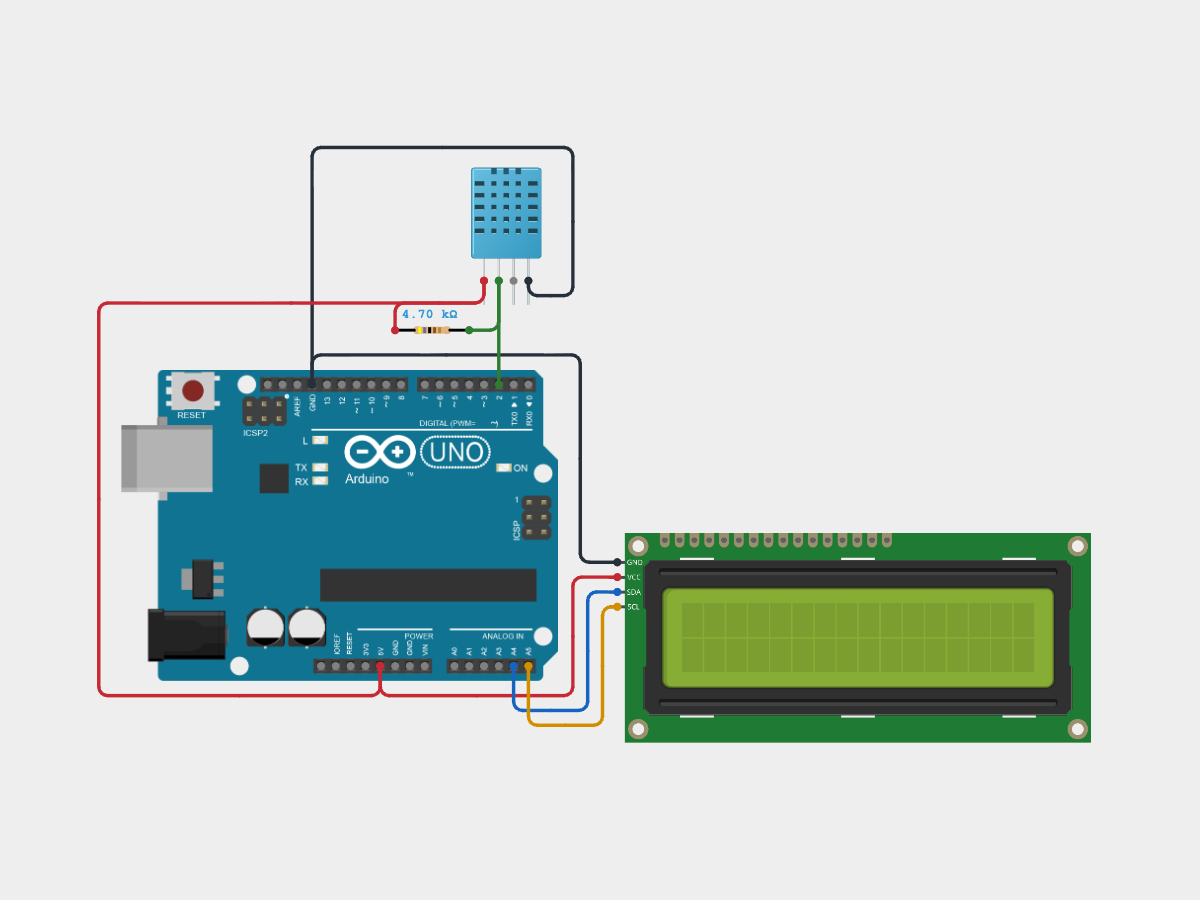
The sketch never names its I²C pins: lcd.init() starts I²C on the ESP32 Arduino core's defaults, GPIO 21 for SDA and GPIO 22 for SCL on a classic ESP32, and GPIO 8 and 9 on an ESP32-S3. Wire SDA and SCL to those pins and the code needs no change.
Troubleshooting
Find your symptom; the checks under it run from the most common cause down.
The backlight is on, but there's no text
If the Serial Monitor counts, the ESP32 is running and the trouble is between it and the screen. Check, in order:
- SDA and SCL go through two-way channels. TXO (or HVn) to the LCD and TXI (or LVn) to the ESP32; RX pins pass a signal one way only.
- The converter has both supplies. LV on 3V3, HV on 5V, and GND to GND.
- SDA reaches GPIO 21 and SCL GPIO 22, each through its own channel.
- The contrast and the address, as in LCD troubleshooting.
No backlight and no text
- The LCD's VCC is on 5V, not 3V3, and its GND on GND.
- The sketch calls
lcd.backlight(), as in LCD troubleshooting.
Nothing in the Serial Monitor, or garbled characters
- The Serial Monitor is set to 115200 baud. It must match
Serial.begin(115200). The ESP32's own start-up lines come first at the same speed.
No port appears for the ESP32
- The cable carries data. The board's USB port carries its serial link as well as power, so a cable that only charges powers the board but shows no port.
- The board's USB-to-serial chip has its driver. Its name, such as CP210x, is printed on the chip near the USB socket. The driver usually installs itself; if no port appears, install it from the chip's maker (Silicon Labs for a CP210x).
The upload stops at Connecting..., then says Failed to connect
Connecting..., then says Failed to connect- The board is in download mode. Hold BOOT, press and release EN (RST on some boards), then release BOOT, and upload again.
FAQ
Can I wire the LCD to the ESP32 without a converter?
Not if the backpack holds SDA and SCL at 5 V; see how the converter works. To check yours, disconnect its SDA and SCL from everything, power only the LCD from 5V and GND, and measure each of SDA and SCL to GND with a multimeter: about 5 V means its pull-ups go to 5 V and it needs the converter.
Which level converter can I use?
A bi-directional one built for I²C, with a MOSFET (such as the BSS138) and pull-ups on each side, like SparkFun's. On SparkFun's two-channel board use the TX pins; on a four-channel board, any channel.
Can I power the LCD from 3V3 and skip the converter?
It may not be readable. The LCD's chips run at 3.3 V (the HD44780 from 2.7 V, the PCF8574 from 2.5 V), but the screen's contrast comes from the LCD voltage, VCC minus the contrast pin's voltage, and at 3.3 V that is at most 3.3 V, just above the HD44780's 3.0 V minimum; how much a panel needs depends on the panel. A module sold for 3.3 V is made for it. With a 5 V module, keep it on 5V and use the converter.
The Arduino IDE warns the library may be incompatible. Does it work?
Yes. LiquidCrystal I2C lists only AVR boards, so the IDE warns, but the sketch builds for the ESP32 and runs.
Does the same code work on an ESP32-S3?
Yes, unchanged: wire SDA to GPIO 8 and SCL to GPIO 9, the S3 core's default I²C pins, each through the converter as here. In the Arduino IDE, choose ESP32S3 Dev Module.
Simulating the LCD on an ESP32 in Cirkit Designer
Cirkit runs your compiled sketch on an emulated ESP32. Its I²C reaches the LCD through the logic level converter on the real nets: each TX channel lets either side pull the line LOW and lets each side rise to its own supply, as on the board. The converter needs LV of at least 1.5 V and HV at or above LV, and its RX channels are one-way dividers. The LCD is simulated as in the LCD guide.
The converter's MOSFET on-resistance and edge speeds aren't modelled: on a real board the 10 kΩ pull-ups slow fast signals.
References
- Philips AN97055: bi-directional level shifter for I²C-bus and other systems
- SparkFun: bi-directional logic level converter hookup guide
- SparkFun Logic Level Converter design files (TX and RX channels)
- DFRobot I2C LCD backpack schematic (DFR0063, v1.2): SDA and SCL pulled up to VCC
- Espressif ESP32 datasheet (I/O voltage, input-only, flash and strapping pins)
- Espressif ESP32-S3 datasheet (GPIO 19 and 20 as USB D− and D+)
- Arduino-ESP32 3.3.5: the ESP32's default SDA and SCL
- Arduino-ESP32 3.3.5: the ESP32-S3's default SDA and SCL
- Espressif ESP32-DevKitC user guide (its 5V pin, Boot and EN)
- Hitachi HD44780U datasheet (supply and LCD voltage)
- Texas Instruments PCF8574 datasheet (supply)
- Arduino-ESP32: installing the ESP32 boards in the Arduino IDE
- LiquidCrystal I2C library, 1.1.2
- ESP-IDF: establishing a serial connection (the USB-to-UART bridge and its driver)
- Espressif esptool: troubleshooting (download mode, the boot log at 115200 baud)