
Read a DHT11 on an ESP32
 By Austin SmallUpdated November 12, 2026
Read temperature and humidity with a DHT11 on an ESP32, with the same library and nearly the same code as on an Arduino. The DHT11 runs at the ESP32's 3.3 V, DATA goes on a safe GPIO such as 4, and the sketch waits between readings without delay() and counts failed reads.
This guide uses an ESP32 DevKitC, the common ESP32-WROOM-32 board; an ESP32-S3 board wires and runs the same way on GPIO 4. For the sensor itself, see the DHT11 guide.
Try it first, no parts needed
This is the whole project on an ESP32, running in your browser. Press Run simulation, then change the air around the sensor, or hold the button to breathe on it, and watch the ESP32 print each reading.

The air around the DHT11
The sketch reads it every 2 seconds.
ESP32 serial monitor115200 baud
What the code does
The sketch reads the DHT11 every two seconds, waiting without delay(), labels the humidity, and counts failed reads.
// DHT11 on an ESP32: temperature, humidity and a comfort
// label on the serial monitor every two seconds.
// DHT11: VDD to 3V3, DATA to GPIO 4, GND to GND, NC unused,
// and a 4.7 kOhm pull-up resistor from DATA to 3V3.
#include <DHT.h>

const int DHT_PIN = 4;  // GPIO 4
// The DHT11 answers at most every 2 s; asked sooner, the
// library repeats its last reading.
const unsigned long READ_INTERVAL_MS = 2000;
// The label's comfort band, in % RH.
const int DRY_BELOW = 30;
const int HUMID_ABOVE = 60;

DHT dht(DHT_PIN, DHT11);
// The first reading comes 2 s after power-up, once the
// sensor has started.
unsigned long lastRead = 0;
unsigned int failedReads = 0;

const char *comfort(float humidity) {
  if (humidity < DRY_BELOW) return "TOO DRY";
  if (humidity > HUMID_ABOVE) return "TOO HUMID";
  return "OK";
}

void setup() {
  Serial.begin(115200);
  dht.begin();
}

void loop() {
  if (millis() - lastRead < READ_INTERVAL_MS) return;
  lastRead = millis();

  float humidity = dht.readHumidity();
  float temperature = dht.readTemperature();
  if (isnan(humidity) || isnan(temperature)) {
    failedReads++;
    Serial.print(F("DHT_READ_FAILED count="));
    Serial.println(failedReads);
    return;
  }

  Serial.print(F("T="));
  Serial.print(temperature, 1);
  Serial.print(F(" H="));
  Serial.print(humidity, 1);
  Serial.print(' ');
  Serial.println(comfort(humidity));
}const int DHT_PIN = 4; // GPIO 4The GPIO that DATA is on. On an Arduino this would be a pin such as 2; on an ESP32, use a pin from the safe list.
const char *comfort(float humidity) {
  if (humidity < DRY_BELOW) return "TOO DRY";
  if (humidity > HUMID_ABOVE) return "TOO HUMID";
  return "OK";
}
Turns the humidity into a label: below
DRY_BELOWis too dry, aboveHUMID_ABOVEtoo humid.if (millis() - lastRead < READ_INTERVAL_MS) return;Waits two seconds between readings without
delay(), so the ESP32 can do other work, such as Wi-Fi, in between. Each reading still holdsloop()for about 25 ms while the library talks to the sensor.if (isnan(humidity) || isnan(temperature)) { failedReads++; Serial.print(F("DHT_READ_FAILED count=")); Serial.println(failedReads); return; }Both reads return NaN when a reading fails. The sketch counts the failures and prints them, so a loose wire shows up at once.
Build it on an ESP32
Now with real parts. Wire it, get the code, then upload it and watch the readings. Not sure which pin is which? See the DHT11 pinout.
You'll need
- An ESP32 development board, such as an ESP32 DevKitC (ESP32-WROOM-32), and a USB data cable; an ESP32-S3 board works the same way
- A DHT11 and a 4.7 kΩ resistor, or a three-pin DHT11 module, which has the resistor built in
- A breadboard and five jumper wires
- Software to upload the sketch: Cirkit Designer, free in your browser, or the Arduino IDE with Espressif's ESP32 boards installed
Wire it
Four connections and one resistor, all at 3.3 V.
Tap a connection to see it on the circuit.
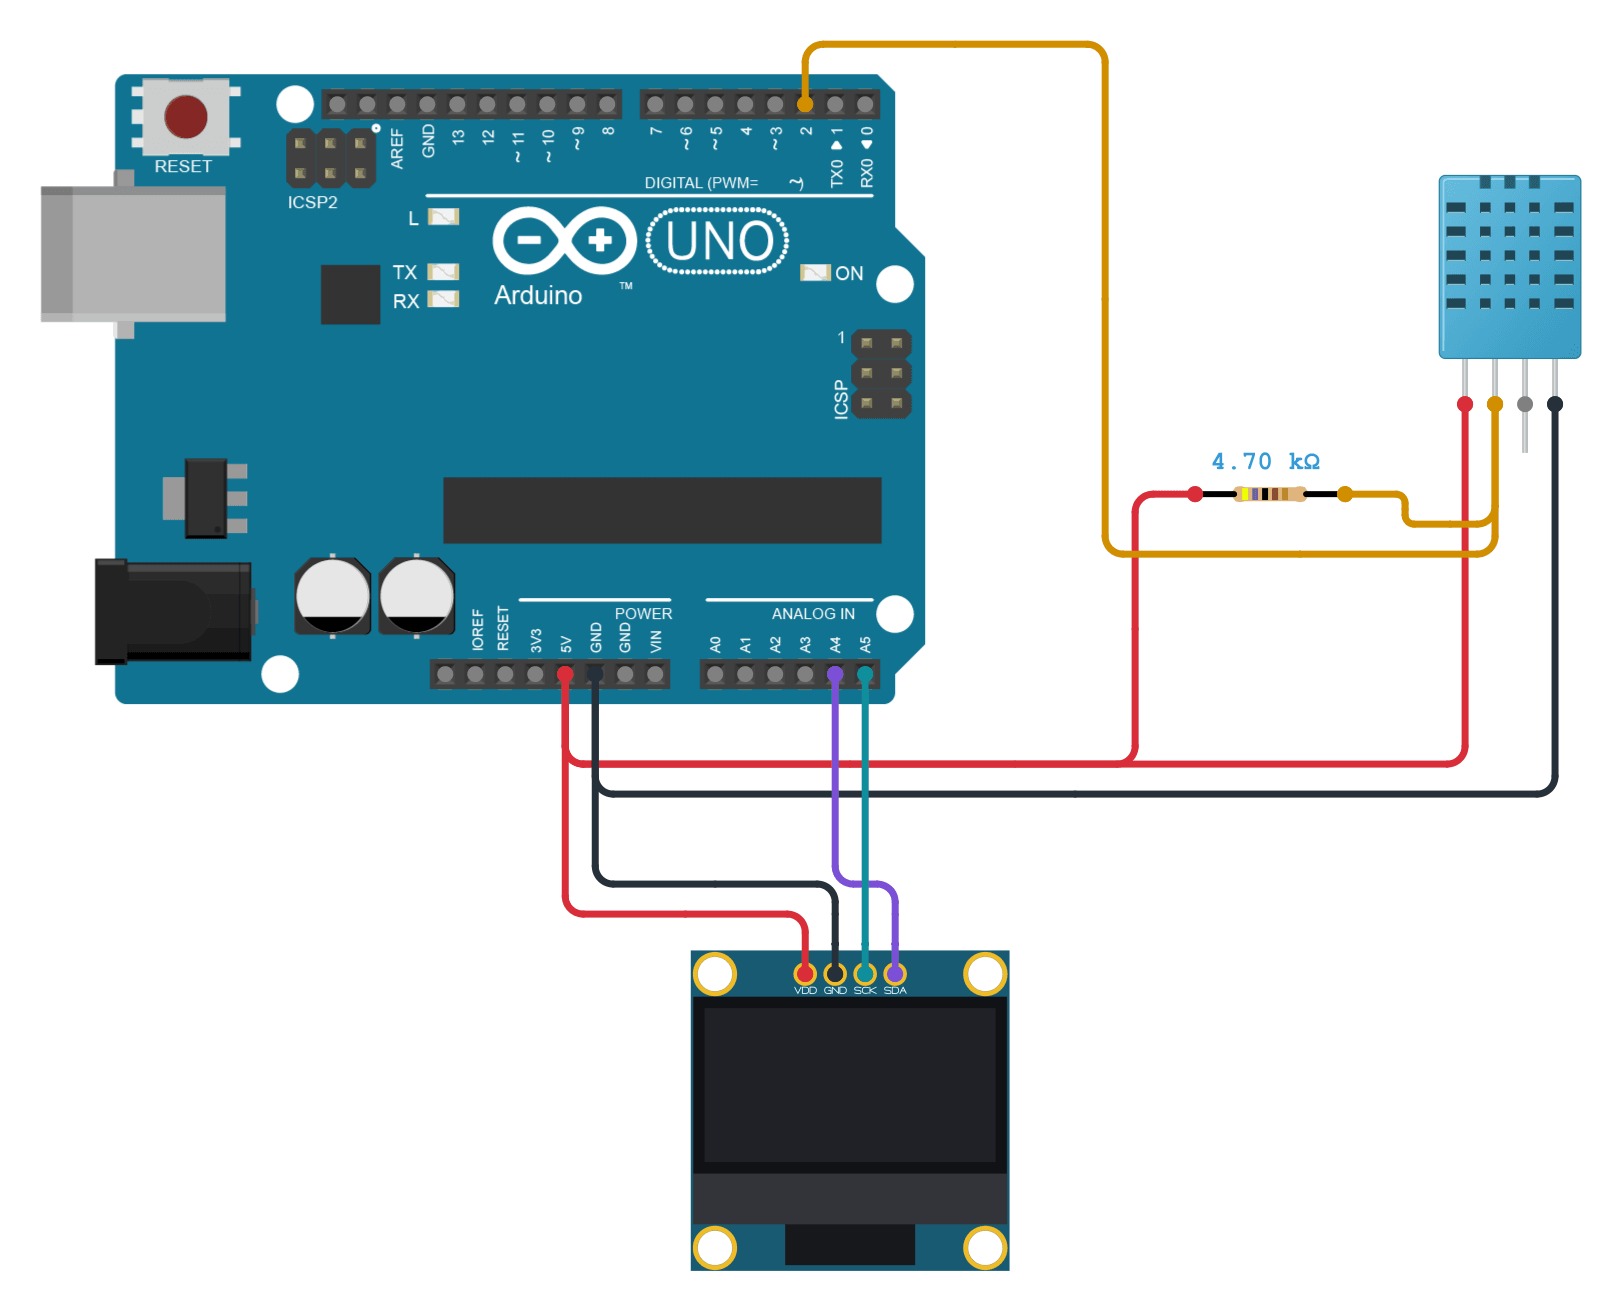
DHT11 pin Connect to the ESP32 Show 1 VDD 3V3 Show 2 DATA GPIO 4 Show Pull-up 4.7 kΩ resistor from DATA to 3V3 Show 3 NC Leave unconnected Show 4 GND GND Show Power it from 3V3, not 5V. The ESP32's pins aren't 5 V tolerant, and the pull-up holds DATA at the sensor's supply. Use a DHT11 rated for 3.3 V: Aosong's current manual gives 3.3 to 5.5 V, but its older English datasheet starts at 3.5 V. A three-pin module goes the same way: + or VCC to 3V3, S or OUT to GPIO 4, − or GND to GND, by the labels printed on it.
Get the code
I'm using:Steps 2 and 3 follow the tool you pick.
The project opens with the sketch and the DHT sensor library already in it, so there's nothing to install.
First add ESP32 boards: open Tools → Board → Boards Manager, search for esp32, and install esp32 by Espressif Systems. Then open the Library Manager (1), search for DHT sensor library (2), and install the one by Adafruit (3); when it asks about dependencies, install them all.
Then copy the sketch into a new one:
How it works line by line is in what the code does, above.
Upload and check it
Plug in your ESP32. In Cirkit, open the Build tab, then Upload firmware: click Select Port and pick your board, then Upload to Device. The first time, Cirkit asks you to install Cirkit Create Agent, a small desktop helper that lets it reach the board over USB. Then open Upload output and serial monitor and click Start Serial Monitor.
Show me where to click in Cirkit
 DHT11 on an ESP32DesignCodeSimulateBuildShare
Select a device port
Select the device port for uploading code and serial communications
COM4 (ESP32)- Open Build
- Choose Upload firmware
- Click Select Port
- Pick COM4 (ESP32)
- Click Upload to Device
- Open Upload output and serial monitor
- Click Start Serial Monitor
In the Arduino IDE, choose ESP32 Dev Module and its port from the board menu, press Upload, then open the Serial Monitor and set it to 115200 baud. For an ESP32-S3 board, choose ESP32S3 Dev Module.
Show me where to click in the Arduino IDE
dht11_esp32.ino// DHT11 on an ESP32: temperature, humidity and a comfort // label on the serial monitor every two seconds. // DHT11: VDD to 3V3, DATA to GPIO 4, GND to GND, NC unused, // and a 4.7 kOhm pull-up resistor from DATA to 3V3. #include <DHT.h>
OutputSerial Monitor115200 baudCompiling sketch...
Sketch uses 285207 bytes (21%) of program storage space. Maximum is 1310720 bytes.
Global variables use 20832 bytes (6%) of dynamic memory, leaving 306848 bytes for local variables. Maximum is 327680 bytes.
Uploading...
T=25.0 H=60.0 OK
T=25.0 H=61.0 TOO HUMID
T=26.0 H=66.0 TOO HUMID
T=27.0 H=74.0 TOO HUMID
T=27.0 H=80.0 TOO HUMID
Done uploading.
- Click the board menu
- Pick ESP32 Dev Module on COM4
- Click Upload
- Wait for Done uploading
- Click Serial Monitor
- Check it is set to 115200 baud
It works when:
- After a few start-up lines from the ESP32's boot ROM, such as
rst:0x1 (POWERON_RESET), a new line appears every two seconds, likeT=25.0 H=60.0 OK. - You breathe on the sensor and, within a few readings, the humidity rises and the label says TOO HUMID.
Device SerialT=25.0 H=60.0 OKT=25.0 H=61.0 TOO HUMIDT=26.0 H=66.0 TOO HUMIDT=27.0 H=74.0 TOO HUMIDT=27.0 H=80.0 TOO HUMIDOutputSerial MonitorT=25.0 H=60.0 OKT=25.0 H=61.0 TOO HUMIDT=26.0 H=66.0 TOO HUMIDT=27.0 H=74.0 TOO HUMIDT=27.0 H=80.0 TOO HUMIDNot working? See troubleshooting.
Which ESP32 pins work for the DHT11
DATA needs a GPIO that can both drive the line low and read it, because the ESP32 sends the start signal and then listens for the reply. GPIO 4 is safe on both the classic ESP32 and the ESP32-S3.
| Avoid | Classic ESP32 | ESP32-S3 |
|---|---|---|
| Input-only pins | GPIO 34 to 39 can't drive the start signal | None |
| Flash pins | GPIO 6 to 11 | GPIO 26 to 32, and 33 to 37 on modules with octal PSRAM |
| Boot (strapping) pins | GPIO 0, 2, 5, 12 and 15 | GPIO 0, 3, 45 and 46 |
Troubleshooting
Find your symptom; the checks under it run from the most common cause down.
Every reading fails: DHT_READ_FAILED
- The code says
DHT11, notDHT22. WithDHT22the start signal is too short for a DHT11. - DATA is on the GPIO the sketch names. That pin mustn't be input-only or a flash pin; see which pins work.
- A bare sensor has its pull-up. 4.7 to 10 kΩ from DATA to 3V3.
- VDD and GND aren't swapped. Check pin 1 against the pinout.
Some readings fail
- The sensor's wires are short. At 3.3 V, Aosong's current manual allows up to 1 m. An older DHT11 needs much shorter ones: its English datasheet allows only 20 cm, even at 3.5 V. Shorten them first.
Nothing in the Serial Monitor
- The Serial Monitor is set to 115200 baud.
- On an ESP32-S3 board with two USB ports, the cable is in the port the sketch prints to. The ESP32-S3-DevKitC-1 has a USB-to-UART port and the ESP32-S3's own USB port.
Serialprints to the USB-to-UART port unless Tools → USB CDC On Boot is enabled, which moves it to the ESP32-S3's USB port.
No port appears for the ESP32
- The cable carries data. The board's USB port carries its serial link as well as power, so a cable that only charges powers the board but shows no port.
- The board's USB-to-serial chip has its driver. Its name, such as CP210x, is printed on the chip near the USB socket. The driver usually installs itself; if no port appears, install it from the chip's maker (Silicon Labs for a CP210x).
The upload fails, or the board won't start with the sensor connected
- DATA isn't on a boot (strapping) pin. The sensor's pull-up can change how the board starts. Move DATA to GPIO 4.
- The board is in download mode. If the upload stops at
Connecting...and saysFailed to connect, hold BOOT, press and release EN (RST on some boards), then release BOOT, and upload again.
More causes are in the DHT11 guide's troubleshooting.
FAQ
Does the DHT11 work at 3.3 V?
Yes, if it's rated for 3.3 V. Aosong's current manual gives 3.3 to 5.5 V; its older datasheets start at 3 V (Chinese) or 3.5 V (English). Keep the wires short, since the voltage drop along them matters more at 3.3 V.
Does the same code work on an ESP32-S3 or an ESP32-C3?
Yes, with DATA on a safe pin of that chip; GPIO 4 is safe on the classic ESP32 and the ESP32-S3. On another chip, check its strapping and flash pins first, then change DHT_PIN.
Can I send the readings over Wi-Fi?
Yes. The sketch waits between readings without delay(), so you can add Wi-Fi code to loop() and send each reading after it's printed. Each reading holds loop() for about 25 ms, so Wi-Fi code there runs just before or after it.
Simulating the DHT11 on an ESP32 in Cirkit Designer
Cirkit's DHT11 answers the library through the ESP32's real pin, with the timing in Aosong's older English datasheet, so the same code runs on hardware; it's tested on the ESP32 DevKitC, the ESP32-S3 and the Arduino Uno. It reads whole numbers with no measurement error or response lag, as in the DHT11 guide.
References
- Espressif ESP32-DevKitC user guide
- Espressif ESP32-S3-DevKitC-1 user guide (its USB-to-UART and USB ports)
- Arduino-ESP32: the Tools menu (USB CDC On Boot)
- ESP-IDF: establishing a serial connection (the USB-to-UART bridge and its driver)
- Espressif esptool: troubleshooting (download mode by hand, the boot log at 115200 baud)
- Espressif ESP32-S3 datasheet
- Espressif ESP32 datasheet
- Adafruit DHT sensor library
- Aosong DHT11 manual, December 2022 edition (Chinese, hosted by LCSC)